


I had a time to relax on Sunday, so I decided to make a little embroidery of the coming Pittsburgh Temple.
I planned to do this as an activity for our Primary children at Activity Days, so I wanted to try it out first to see if it was on their skill level.
Here's how you can create a simple embroidery pattern out of any temple picture:
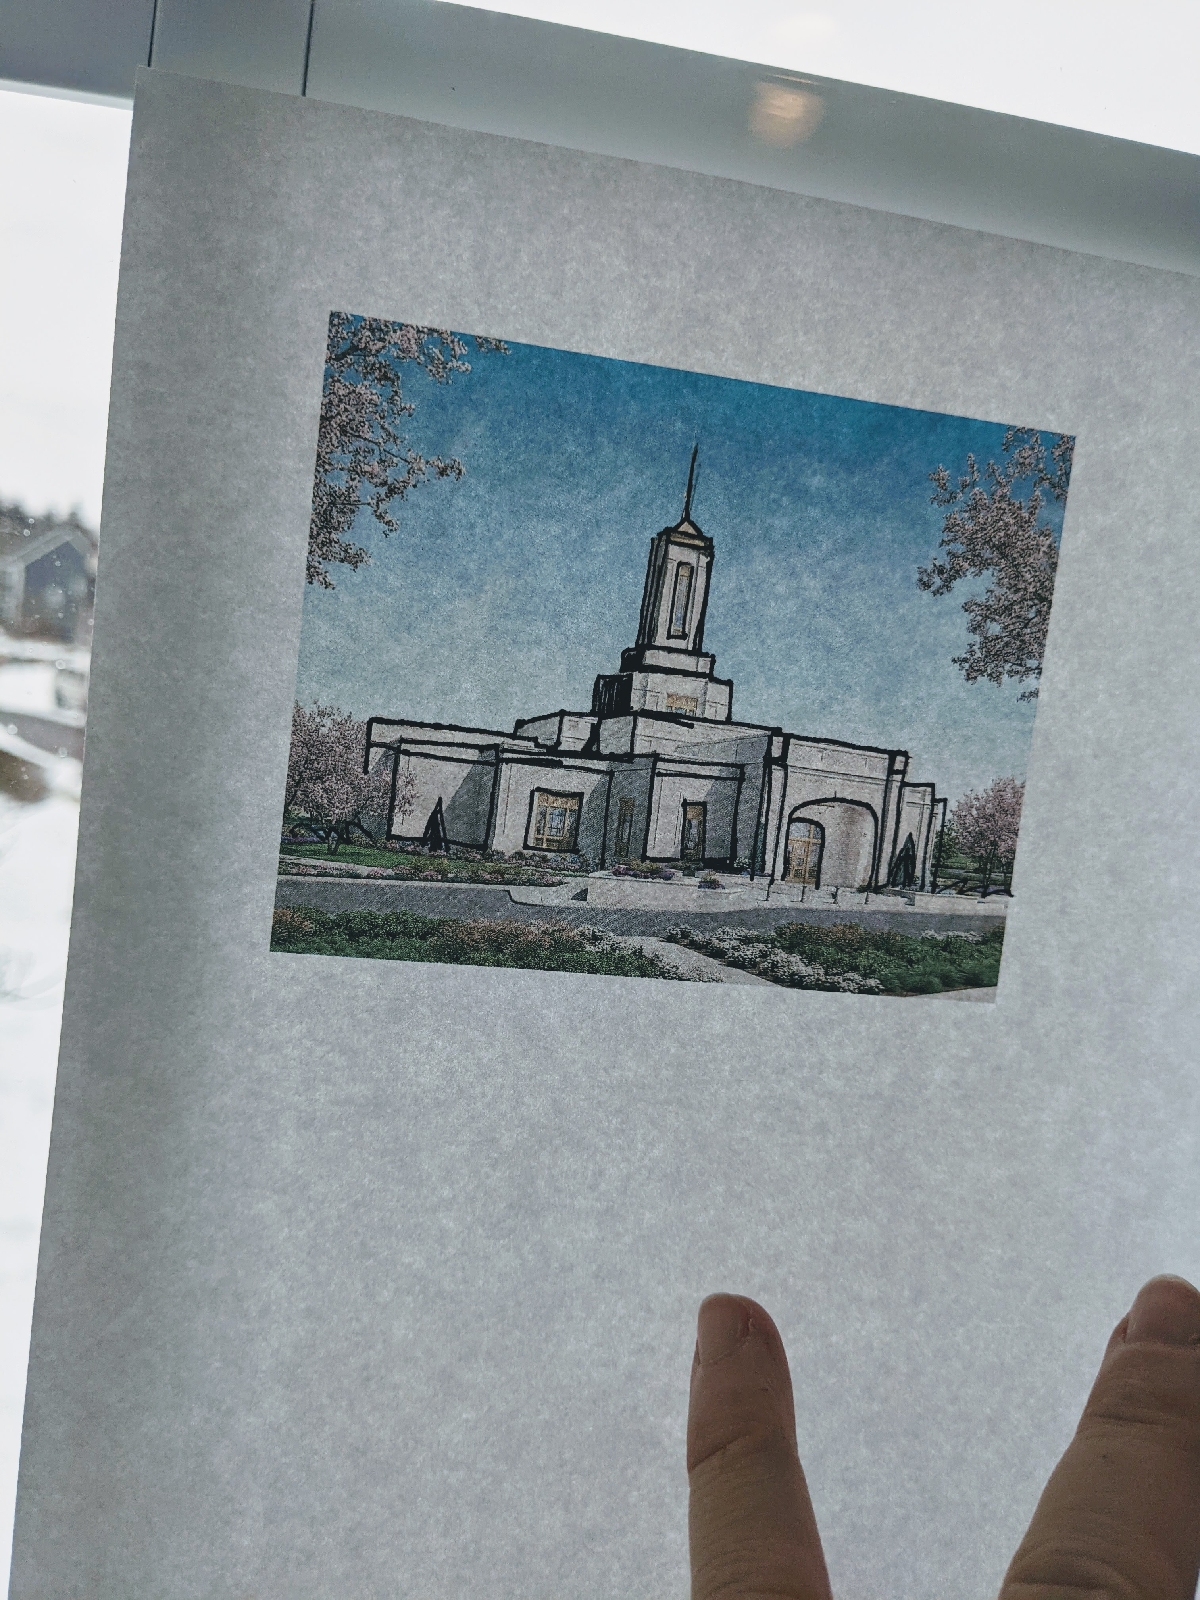
First, print out a photo of your temple in the correct size. It does not need to be in color.
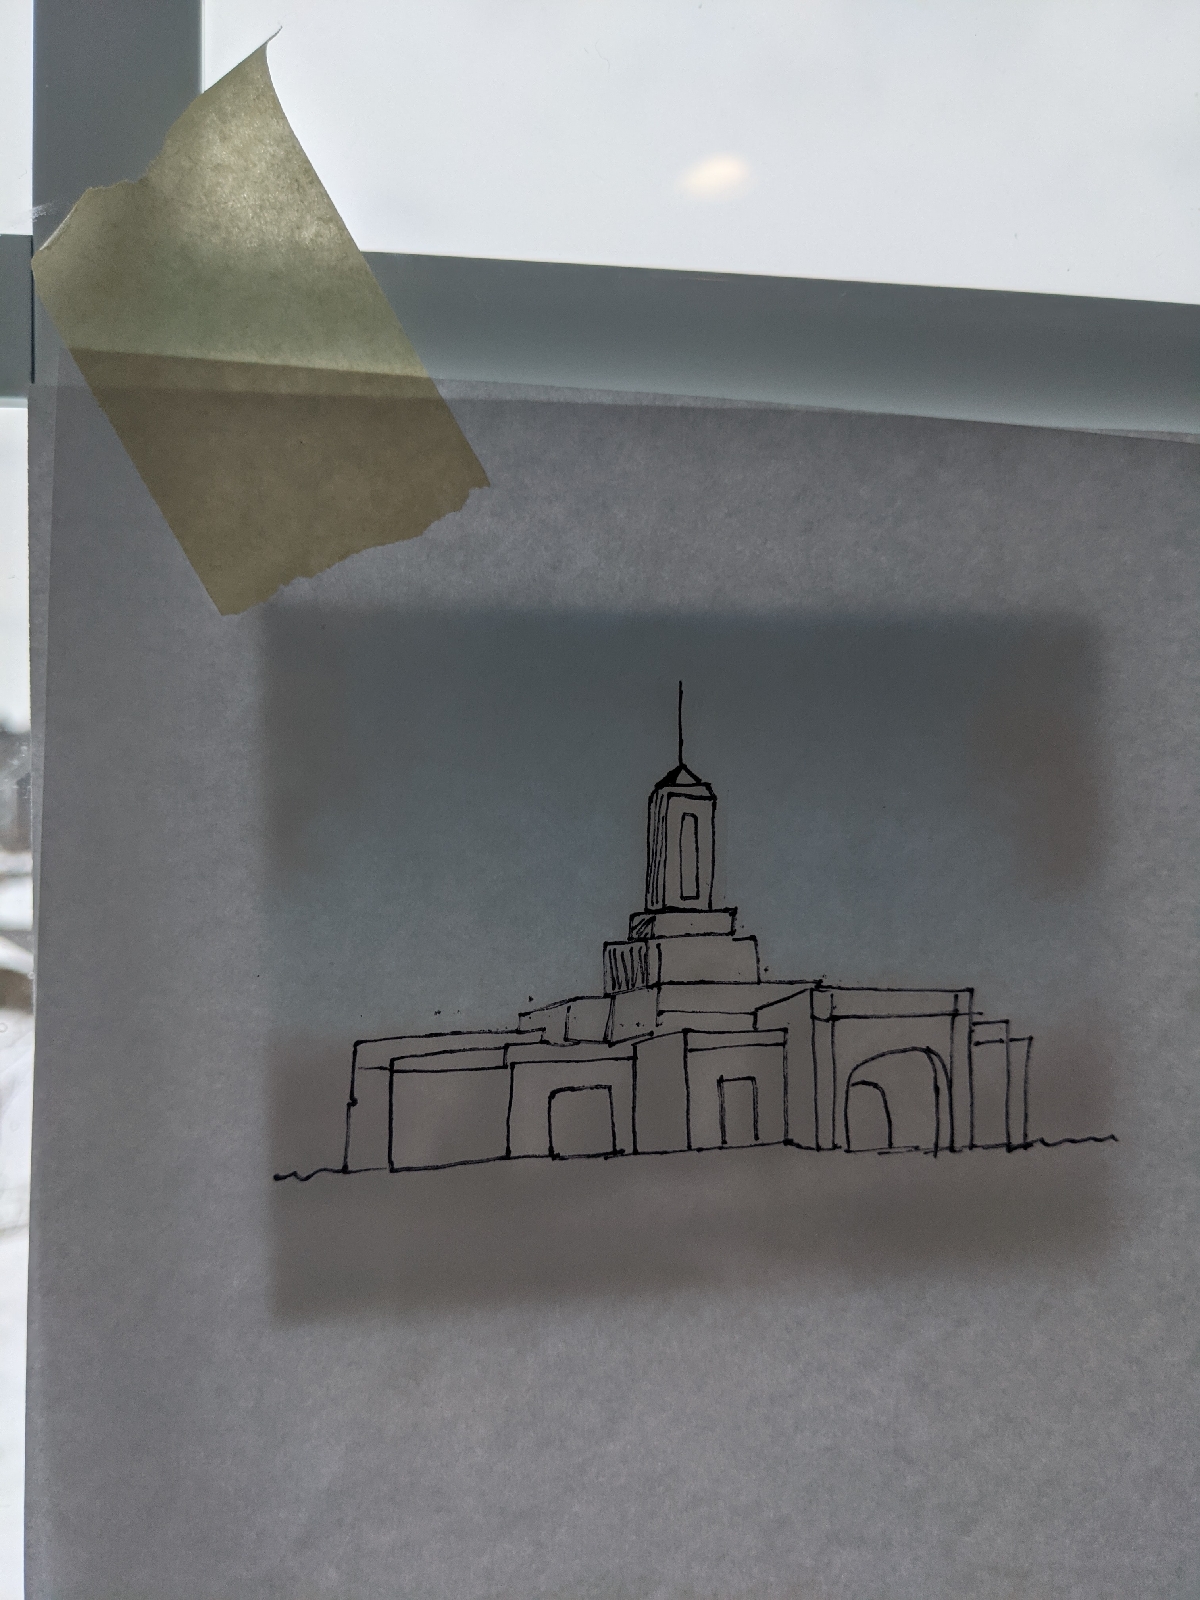
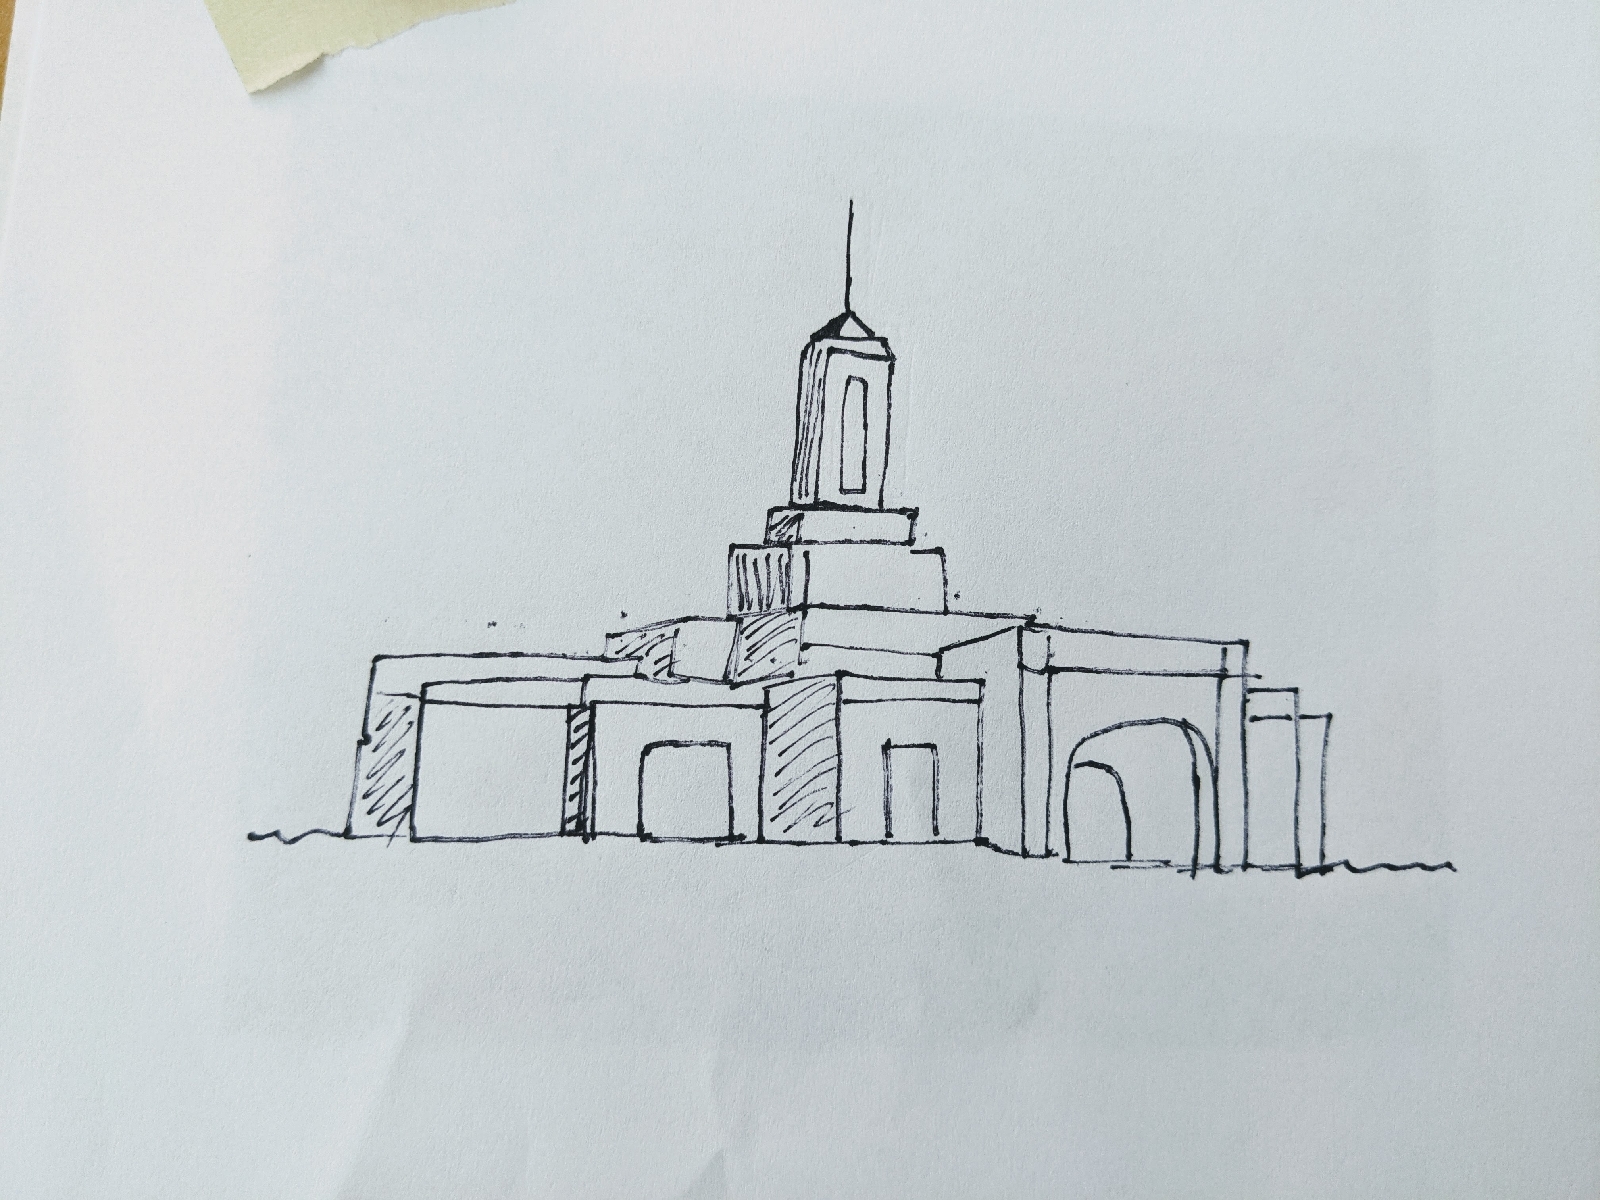
Next, tape it to a window and trace the simplest outlines of the temple onto a plain white paper using a thin black marker.
Then place muslin cut to size over your pattern. Trace the pattern onto your muslin (again trace it on a window creating a lightbox effect). I started to trace using a disappearing fabric marker, but mine wasn't exact enough, so I switched a pencil, which I could easily cover with my stiches.

Back your muslin with quilt batting and put your work in an embroidery hoop. Mine is a 4 inch wooden hoop.
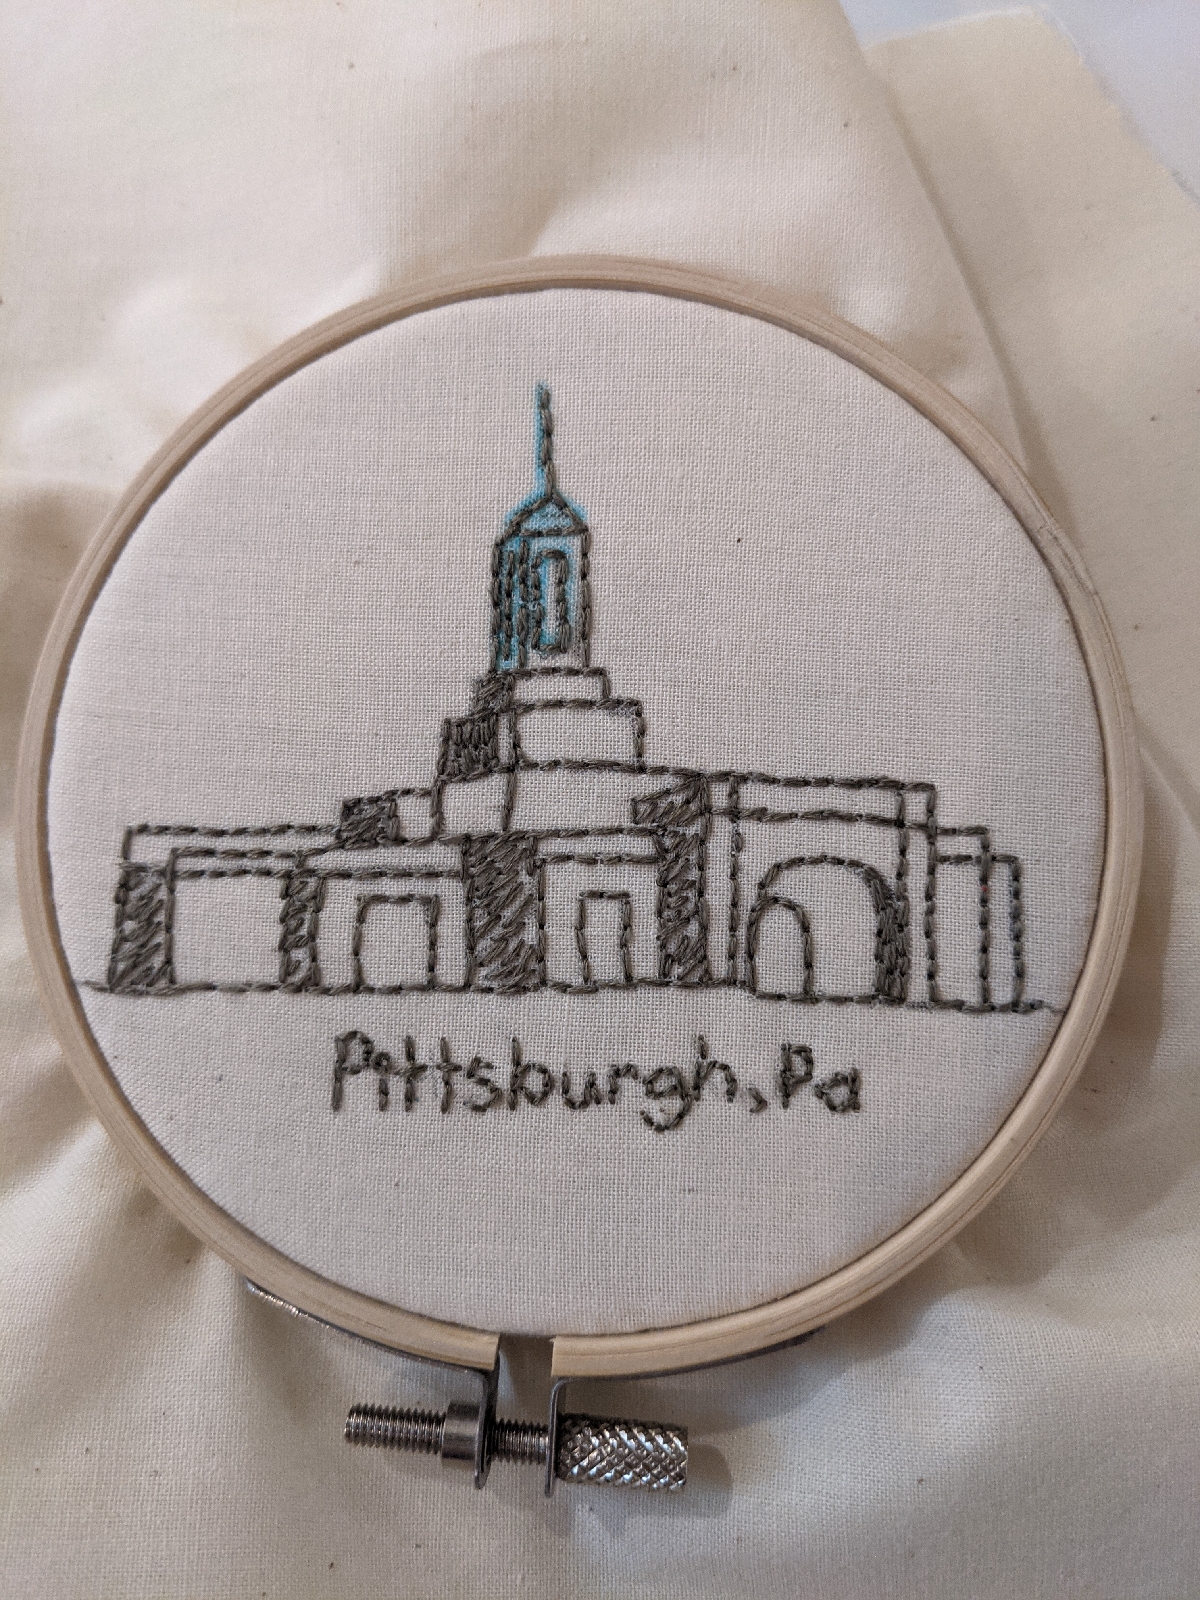
Using 3 strands of embroidery floss, stitch the outlines in a color of your choice. I did the "shading" with random/free-hand stitches, but the rest of the piece is sewn using a "back-stitch". (Here's how to back-stitch.)
When finished, trim the excess fabric a bit and secure to the back, using your hoop as a frame. I used masking tape to secure the fabric as a short-cut.
You can loop a thin ribbon through the metal part to hang and display.
(As you can see in this last photo, my disappearing marker is still showing in blue. You just rinse that off, if that's the type of marker you used. I'd recommend just using pencil since it blends in so easily and does not need to be erased when finished.)
I really like the way this turned out! And I enjoyed it for like two days before I gave this one away in a "favorite things" Relief Society activity.
Now I need to make a new one!

fun idea...will the boys do it also?
ReplyDelete